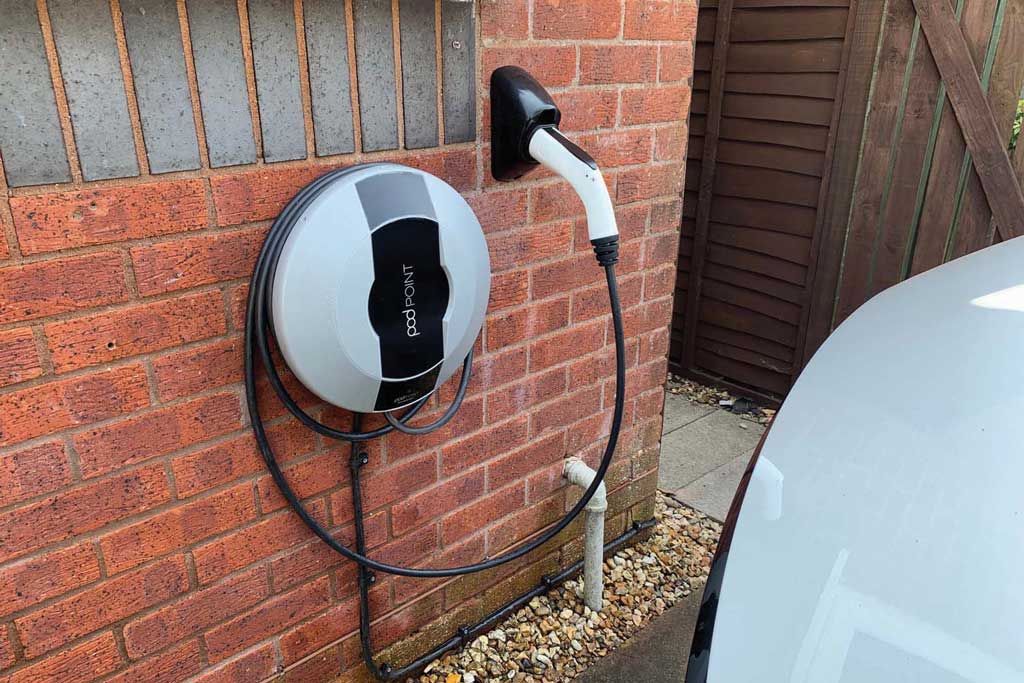
Even if you live in an older property with dated wiring, it should still be possible to fit an electric vehicle wallbox, but it may require a bit more time and expense to get up and running if upgrades are required. In many circumstances these are fairly quick, and not very invasive.
Any wiring changes will need to be made by a wallbox installer or qualified electrician, and are likely to be worthwhile upgrades in the long run, improving the safety of your home electrics, as well as providing access to convenient charging and the cheapest energy tariffs available.
Good earth
One of the first and most important checks a wallbox installer will make is to your home’s earthing connection. Because of the amount of electricity a wallbox can require, a solid earth is vital. This is easy to check, but if it falls short, it can be the responsibility of the homeowner, utility company or even the local power network to upgrade it. Booking someone to carry out this work can take weeks or even months in the worst-case scenario, so it is worth starting the process of getting a wallbox fitted way before your EV is scheduled to arrive.
Don’t blow a fuse
The next common limiting factor is your home’s fuse box, as it may not have been installed to accommodate a power-hungry car charger. Most newer homes have a cut-out fuse rated at 100 amps, but it’s common to find 60 amp fuses in older wiring setups.
Adding a wallbox to a home with an electric hob, power shower, electric heaters (or all of the above) could easily overload the system, causing a smaller fuse to trip. This can usually be reset manually in the fuse box by flipping the fuse back on.
It’s worth checking the rating of your main fuse before a wallbox installer visits, and if they suspect it may be too low, you’ll need to contact your energy provider to upgrade it to 100 amps.
What happens on install day
Virtually all EV wallbox suppliers will phone ahead of the visit to ask questions about your property, which are designed to flag up any potential snags. It’s worth having a good idea of where you want the wallbox charger to be positioned, and how this could fit into your existing wiring ahead of time. Think about where you park your car, and where the car’s charging point is, as you’ll want it to be convenient. Bear in mind that most cars only come with a charging cable that is five metres long. The ports can be positioned at the front, side or even rear of the car, so factor this into your calculations.
Pod Point says that a standard install takes around two hours, but if it can’t be completed on the day because of unexpected extra work, a rescheduled date will be arranged. Where upgrade work is necessary that will incur additional cost, a free site survey and no-obligation quote will be provided. If you are happy to go ahead and the work is minor, it may be possible for the installer to carry it out during the first visit, and collect the extra payment.
For more major alterations, if you accept the quote and decide to go ahead, a further visit will be planned. If you decide not to proceed, and the install cannot be carried out, Pod Point says it will issue a full refund, but this may not be the case for all suppliers of EV wallboxes, so it’s a good idea to check the small print beforehand.
© Motorworld Media 2023
Registered Office: 4 Capricorn Centre, Cranes Farm Road, Basildon, Essex. SS14 3JJ
Company Number: 8818356
Website designed by Steve Dawson